I'm going to shake it up a little bit in my garden. I've had a garden for 25 years now, so it's due some tweaking. Thanks to
Pinterest, and who doesn't love Pinterest?, I have spent the past several weeks studying on various garden concepts. There were a couple that caught my attention that I got serious about. Square Foot Gardening and Living Fenceposts. I didn't want to make too many changes at once and overwhelm myself. So I'll just take you on a little walk through my garden and do a little show and tell.
Let's start with the Living Fencepost - cool name!
This is what the finished project looks like. Now, I'll tell you what I did.
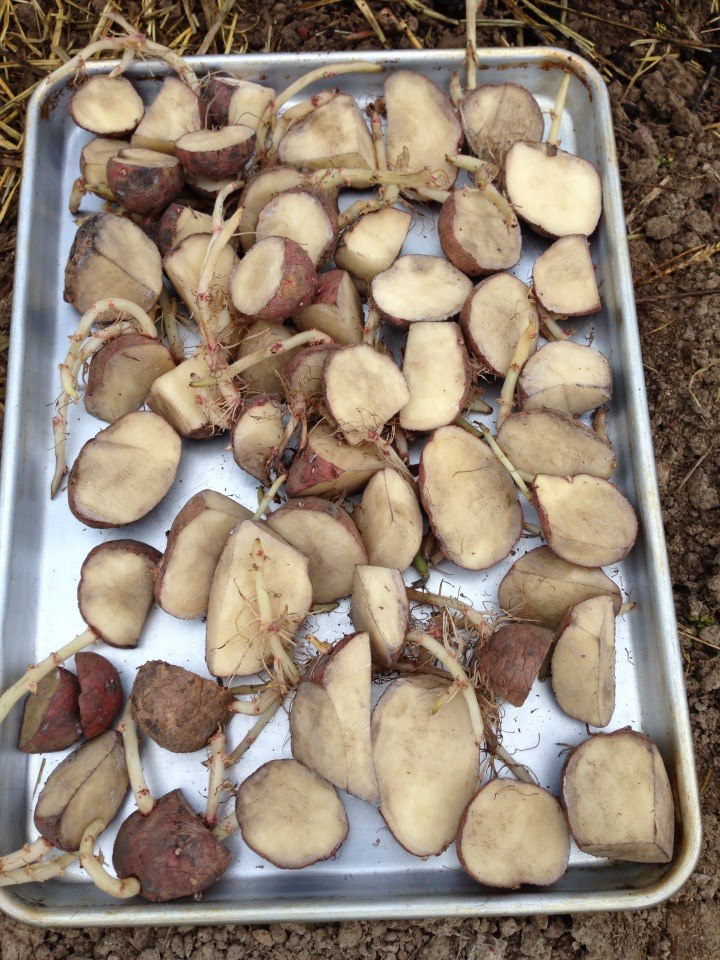
The night before planting, I cut the potato sets and let them scab over. I have never done this to potatoes before, but I'm trying to follow the directions I had read. I also kept all the potato sets at least golf ball size. Once I had my potatoes cut I just left them out all night on the kitchen table. What I read about pre-preparing the sets this way is that it helps prevent potato rot. Sounds good, right? We'll see.
I got the husband and sons to help me prepare the "post". They took a large fence panel and rolled it into a circle. They could have used woven wire, or similar material. The main thing that is important is that the straw will be supported. Once you have the post prepared it's time to start making it "come alive!"
Add about 10 to 12 inches of straw into the post. Then make a "bird nest" and hollow out a little of the center and push up a little taller around the edges. Fill in the nest with pure compost. My recipe said to use straight compost that contained no manure, but, it was hard to find, so I ended up with a little mix of manure compost. I hope it doesn't jinx me! Then grab a hose and water, water, water. You want it completely wet/soaked.
The next step is simply to plant the potatoes. Put your potatoes sets around the perimeter facing the eyes out towards the straw.
Add about 6 to 8 inches of straw and start repeating the layers. Straw - compost - water - potatoes, Straw - compost- water - potatoes. Easy! When your post is full or near the top you can plant a top layer. Some grow other plants in the top, but I just went with more potatoes. The top layer I planted potato sets all over, not just around the perimeter. I put about 5 inches of straw on top of the last layer. Grab your hose again and give it all a very thorough watering.
Hopefully in a few weeks, it will look something like this:
This photo was borrowed from the site I gleaned most information from for my fencepost.
I might add that the quest for pure compost motivated me to start my own compost pile. I used a round bale ring that was just sitting in the barn lot and started throwing in some rotting logs, straw, newspapers, grass clippings and vegetable scraps from the kitchen. The main rule I have is, no animal products (with the exception of egg shells). I watered it all down and now I wait, a long time, but it has to start sometime!


No comments:
Post a Comment